How to Create and Use TON Wallets?

Developed by Telegram in 2018, TON is a fast, low-fee Layer 1 blockchain using Proof of Stake. It supports DeFi, DApps, and DAOs for mass adoption, building a Web3 ecosystem for its 700 million users. TON Wallets are required to access the network.
What Are TON Wallets?
TON Wallets are digital wallets explicitly designed to interact with the Telegram Open Network (TON) blockchain. These wallets allow users to securely store, send, and receive TON cryptocurrency (Gram) and interact with decentralized applications (dApps) built on the TON platform.
They provide features similar to traditional cryptocurrency wallets, such as private key management, transaction history, and balance tracking. This interaction is crucial for maximizing the potential and benefits of this innovative blockchain-based network.
How Does TON Wallets Work?
Here are the fundamental operations of TON Wallets:
- Wallet Creation: Users can create a TON wallet using an application or service provided by Telegram or third parties.
- Generation of Key Pairs: A pair of public and private keys is generated upon creating a wallet. Securing this private key is critical as it provides access to the user’s digital assets.
- Transactions: Users can send and receive digital assets supported on the TON network by creating and authorizing transactions. Each transaction is signed with the user’s private key before being sent to the network for validation.
- Transaction Verification: Transactions are transmitted through the TON network and subsequently verified by network nodes. This verification process ensures transaction integrity and prevents fraudulent transactions.
- Balance Updates: Once a transaction is validated, the user’s wallet balance is updated to reflect changes in the quantity of owned digital assets.
- Security: TON Wallets safeguard users’ digital assets with security features such as two-factor verification, robust encryption, and private key pair management.
In summary, TON Wallets enable users to create and manage their digital assets on the TON network by generating key pairs, facilitating transactions, and securing their assets.
How to create TON Wallets on Mobile
In this comprehensive guide, CoinCu is set to provide you with detailed, step-by-step instructions on how to install and effectively use the Tonkeeper wallet on iOS. We will walk you through each stage of the process, ensuring you are well-equipped to navigate this wallet with confidence and ease.
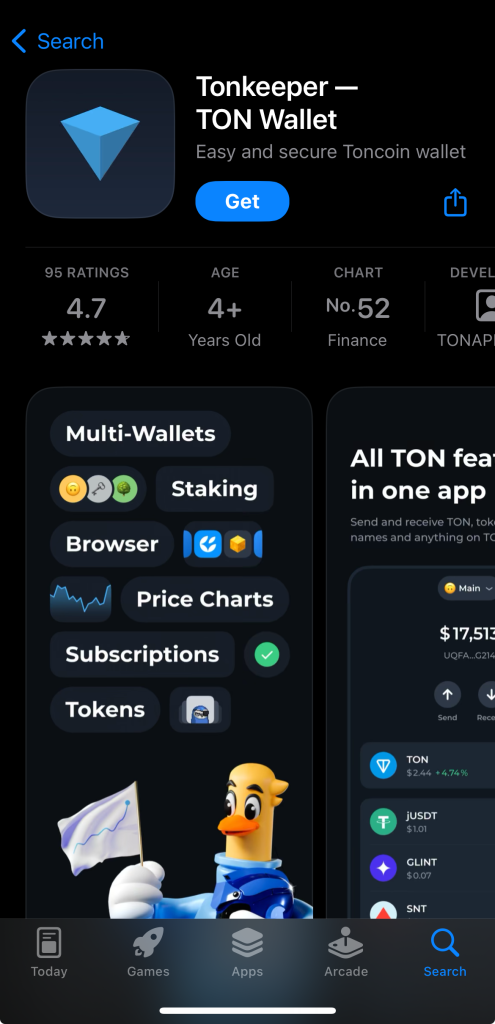
Step 1: Visit this link
Step 2: Install the Tonkeeper wallet
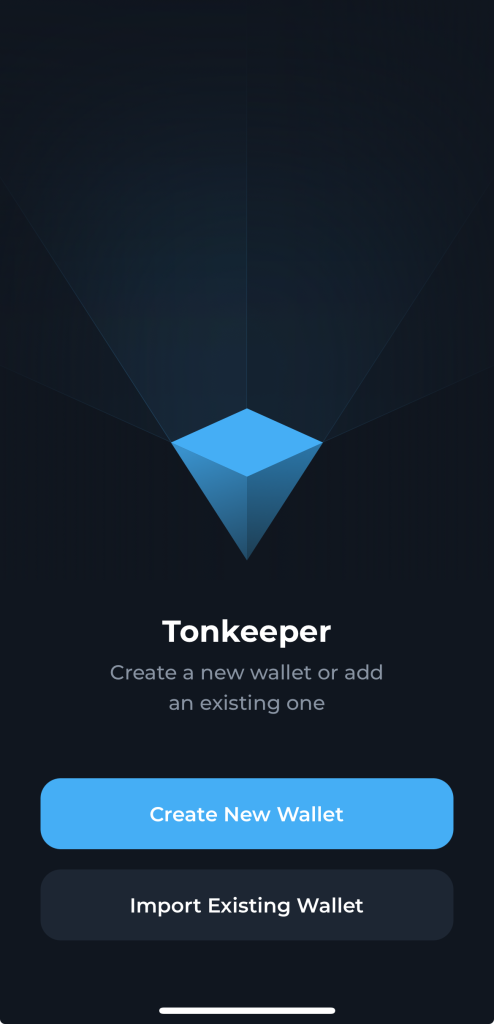
Step 3: Open the app and select “Create New Wallet”
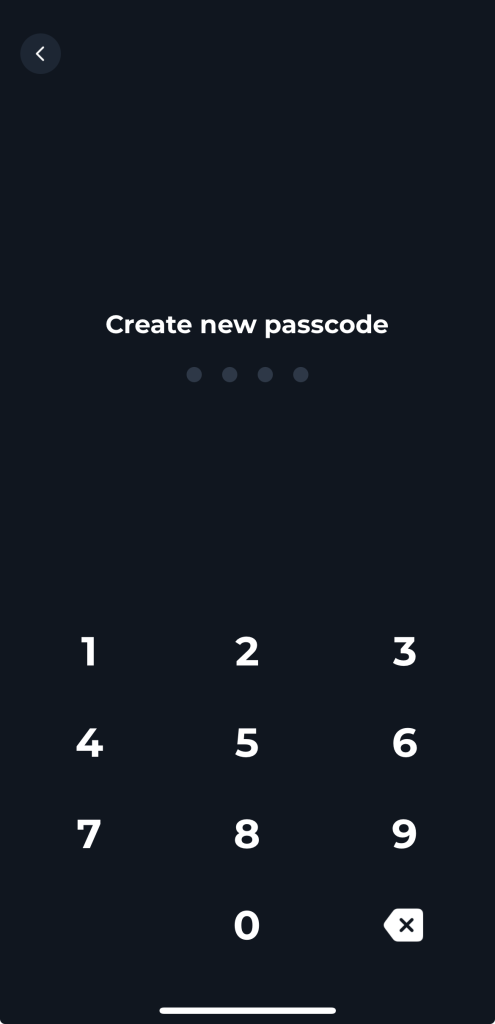
Step 4: Create your new passcode
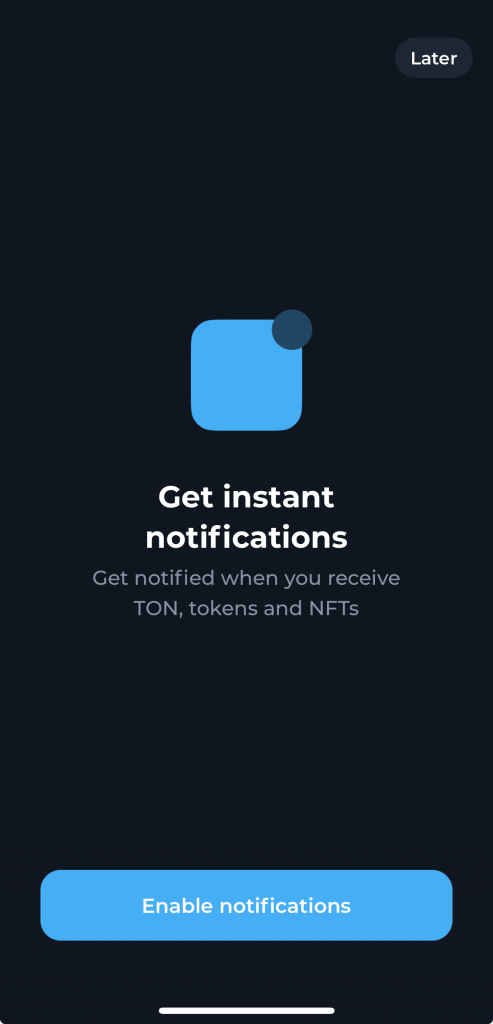
Step 5: After creating the passcode, select “Enable notifications” to receive alerts for transactions.
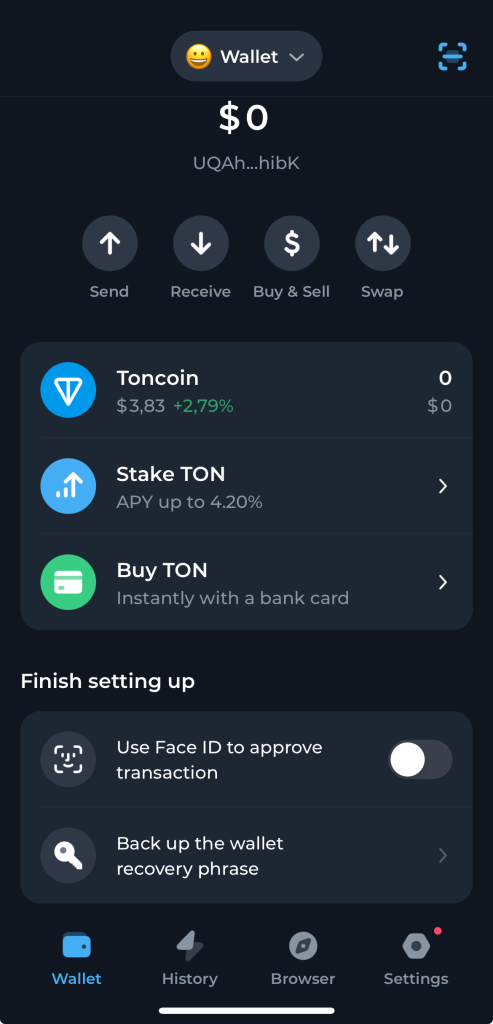
Step 6: You’ve successfully created a wallet. Now it’s time to back up the wallet recovery phrase. From the main screen, select “Back up the wallet recovery phrase”
Get to know Godleak
Godleak crypto signal is a service which provide profitable crypto and forex signals. Godleak tried to provide you signals of best crypto channels in the world.
It means that you don’t need to buy individual crypto signal vip channels that have expensive prices. We bought all for you and provide you the signals with bot on telegram without even a second of delay.

Godleak crypto leak service have multiple advantages in comparision with other services:
- Providing signal of +160 best crypto vip channels in the world
- Using high tech bot to forward signals
- Without even a second of delay
- Joining in +160 separated channels on telegram
- 1 month, 3 months , 6 months and yearly plans
- Also we have trial to test our services before you pay for anything
For joining Godleak and get more information about us only need to follow godleak bot on telegram and can have access to our free vip channels. click on link bellow and press start button to see all features
Join for Free
☟☟☟☟☟
https://t.me/Godleakbot
Also you can check the list of available vip signal channels in the bot. by pressing Channels button.
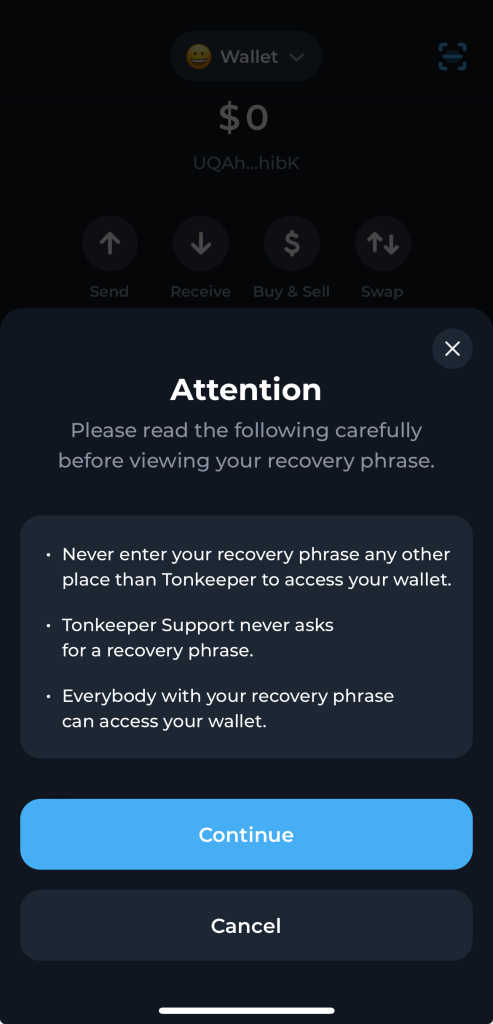
Step 7: Select “Continue”
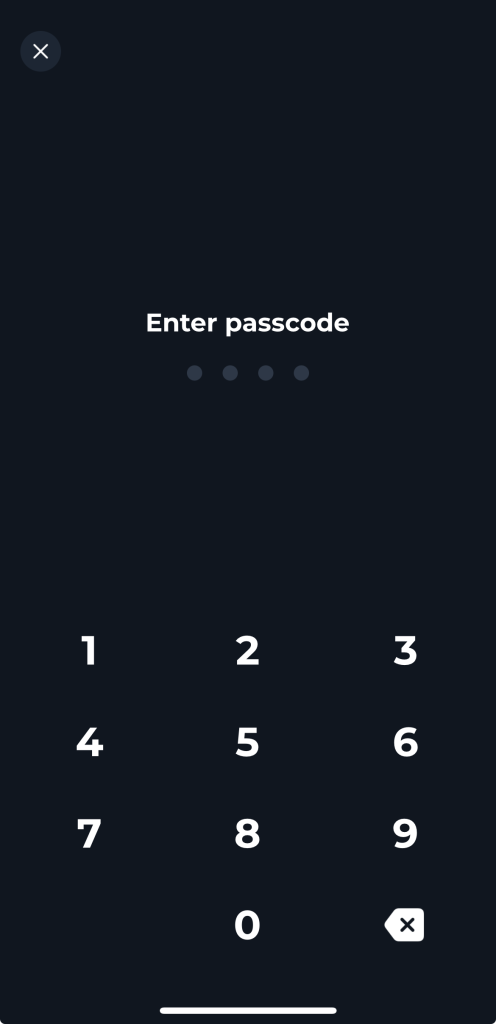
Step 8: Enter your passcode
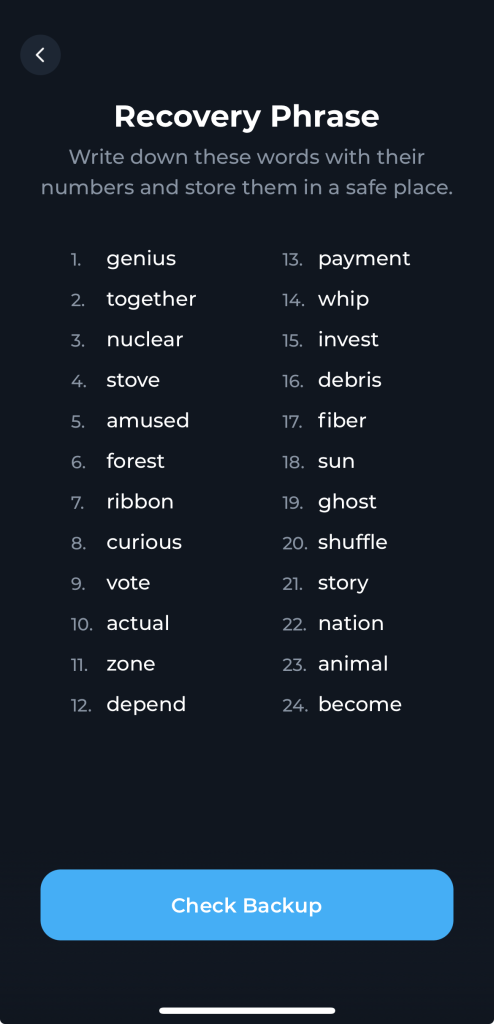
Step 9: Write down your recovery phrase and keep it in a secure location
How to create TON Wallets on Desktop
In this tutorial, CoinCu will guide you through the process of installing and using the TonKeeper wallet on a desktop. Specifically, we will focus on using it with the Chrome browser via an extension.
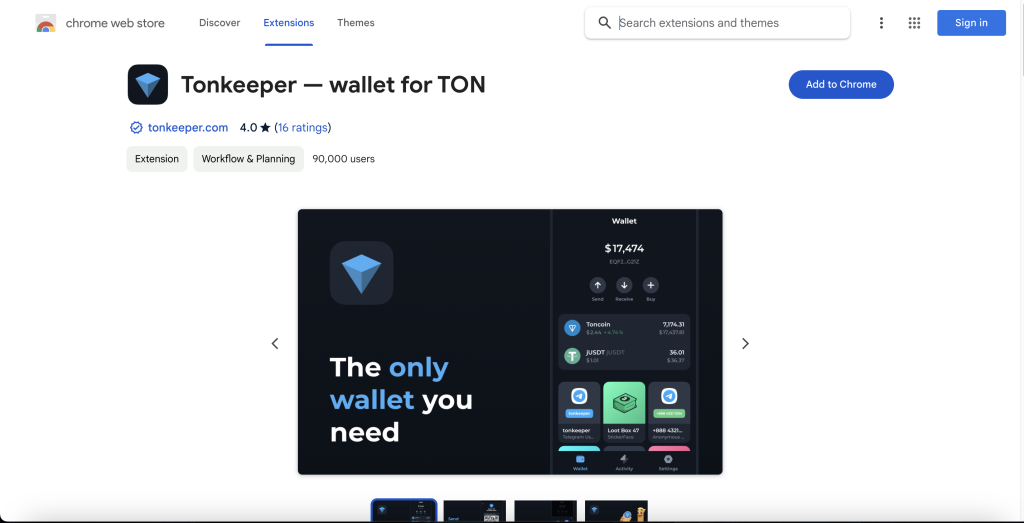
Step 1: Visit this link
Step 2: Click “Add to Chrome”
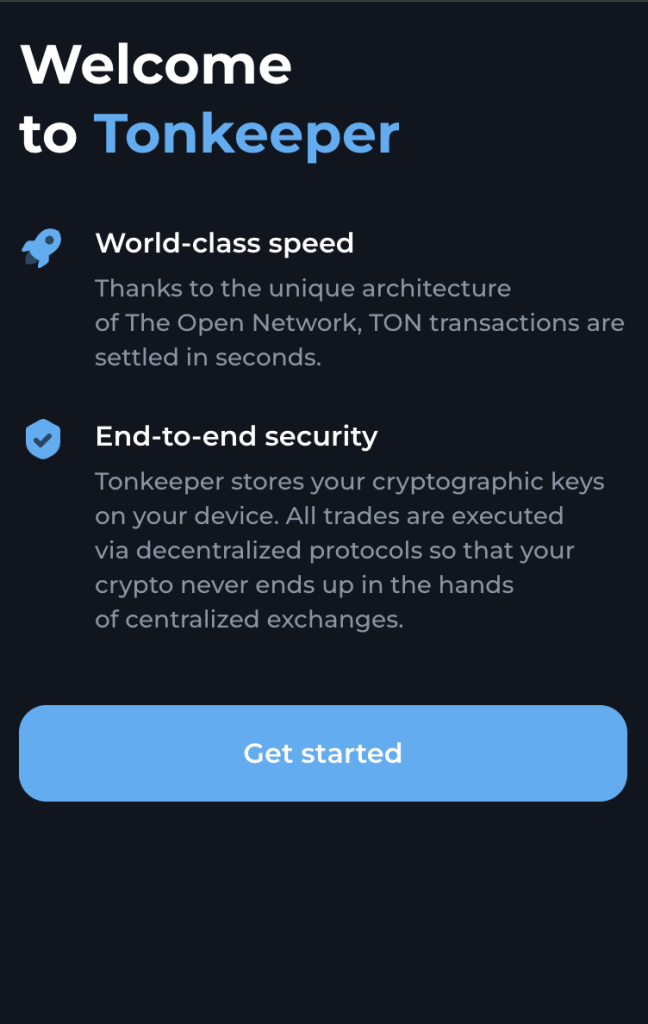
Step 3: On the Chrome extension bar, select the Tonkeeper logo to continue the setup, select “Get Started.”
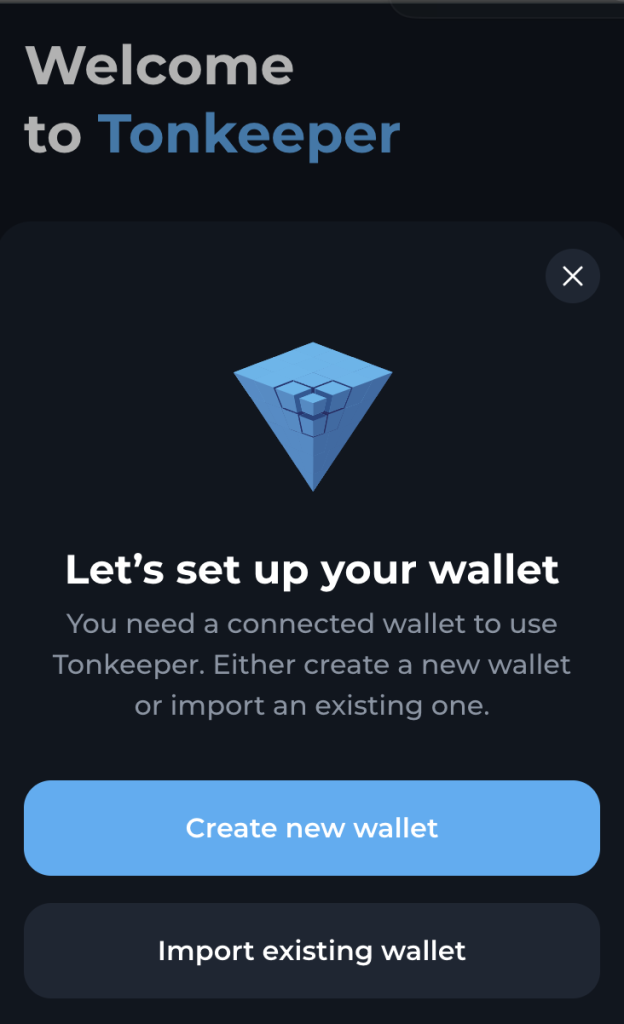
Step 4: Select “Create new wallet”
Step 5: TonKeeper will immediately transfer you to a new tab.
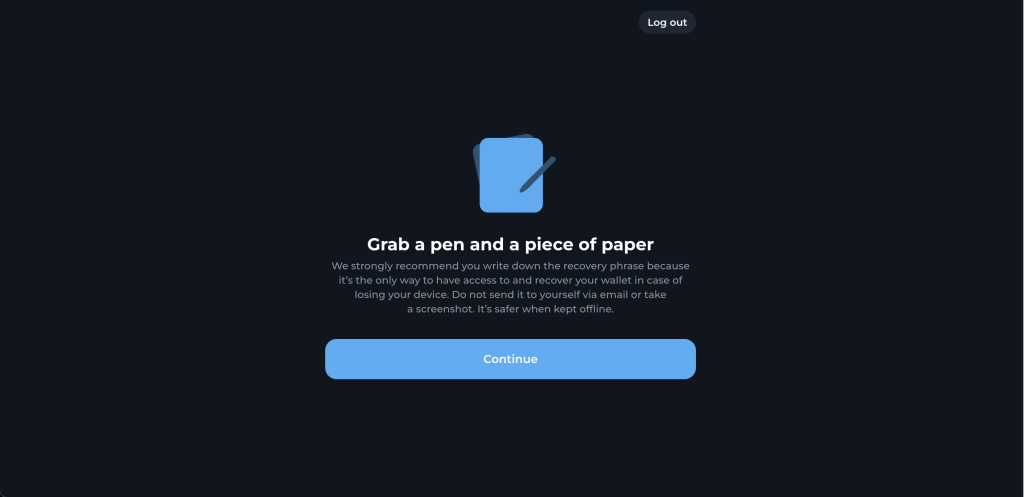
Step 6: Tonkeeper asks you to write down your recovery phrase and keep it in a secure location, you click “Continue”.
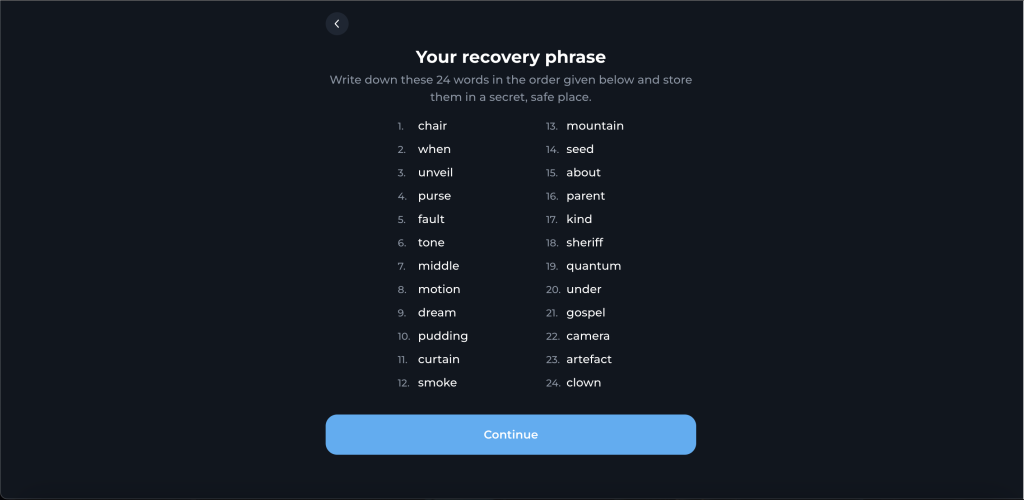
Step 7: Your recovery phrase will appear, please write it down and store it in a safe place then click “Continue”.
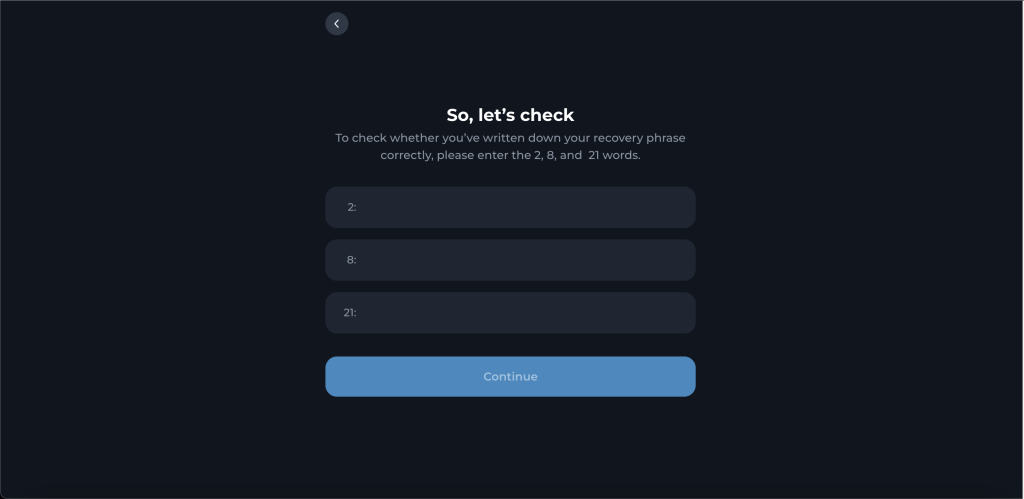
Step 8: Enter the previously secret phrase in the order requested by Tonkeeper, then click “Continue”.
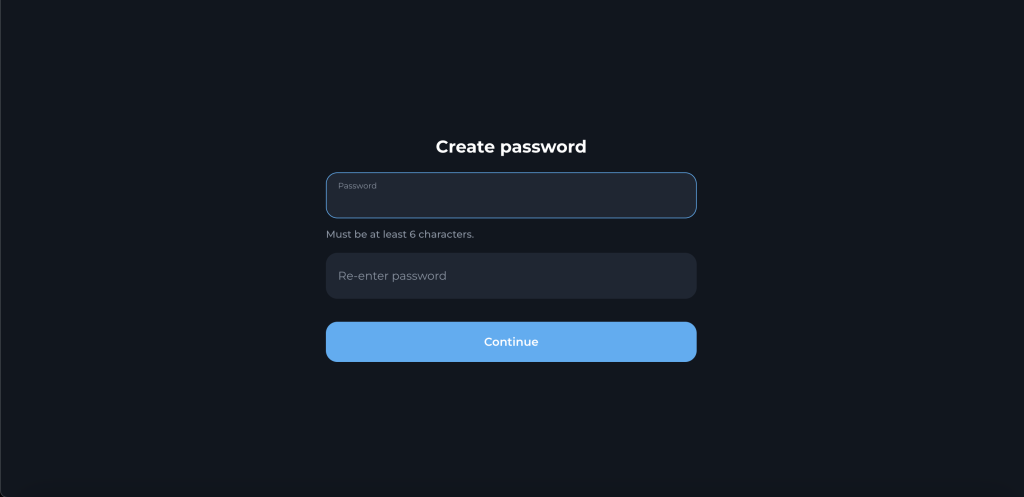
Step 9: At this step, please create your password, then click “Continue.”
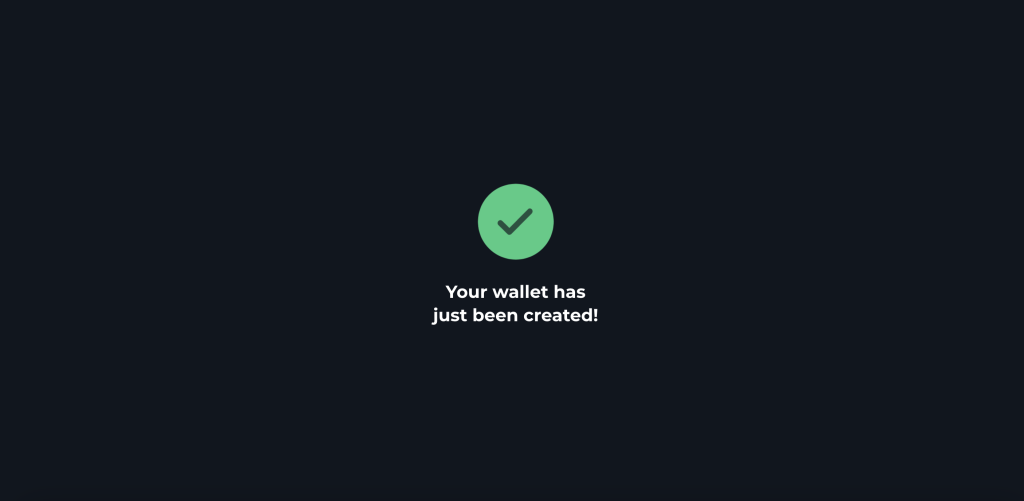
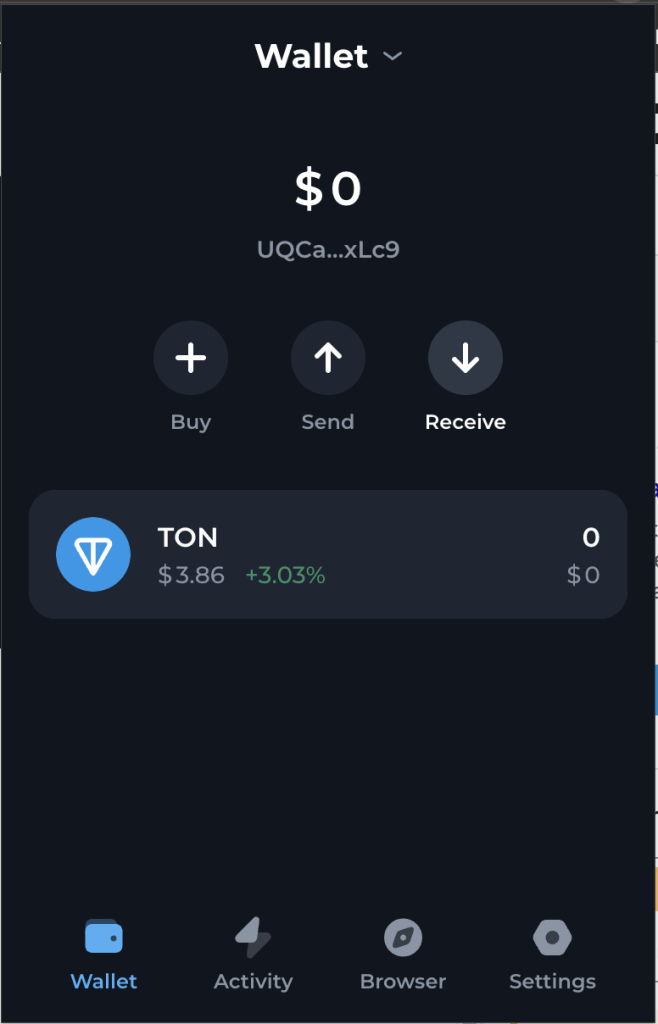
Step 10: That’s it, now you can use your Tonkeeper wallet right on the Chrome browser.
Is there a fee to transfer TON tokens?
Yes, converting TON tokens typically incurs a transaction fee. This fee is often used as a reward for network validators and for maintaining the network’s operations. Transaction fees can vary depending on the network’s condition and transaction volume at a particular time.
In some blockchain projects, users can select their fee level to expedite their transactions. For detailed information on TON token conversion fees, checking specific sources or the official TON Network documentation is recommended.
How do I transfer Toncoin to wallet?
To transfer TON coins to your wallet, follow these steps:
- Choose a suitable wallet: Pick a TON-compatible wallet that fits your needs. There are various options available, including Telegram’s wallet and others provided by different services or exchanges. Make sure the wallet you select supports TON coin transactions.
- Set up or log into your wallet: If you don’t already have a TON wallet, create one by following the instructions on the website or app. If you already have a wallet, simply log in.
- Find your wallet address: Each wallet gives you a unique address for transactions. You’ll use this to receive TON coins. Be sure to copy it accurately.
- Transfer TON from another platform or wallet: Sign in to the platform or wallet where your TON coins are currently stored. Find the option to transfer or withdraw TON coins. Enter the wallet address you copied earlier and confirm the transaction.
- Confirm the transaction and wait: After entering the destination wallet address and the number of TON coins you want to transfer, confirm the transaction. The processing time can vary due to network conditions and other factors.
- Check the destination wallet: Once the transaction has been confirmed and processed, verify that the TON coins have been correctly transferred by checking your wallet.
Remember, the process for transferring TON coins might differ depending on the platform or wallet you’re using. Always read and follow any specific instructions from your platform or wallet to ensure secure and accurate transactions.

